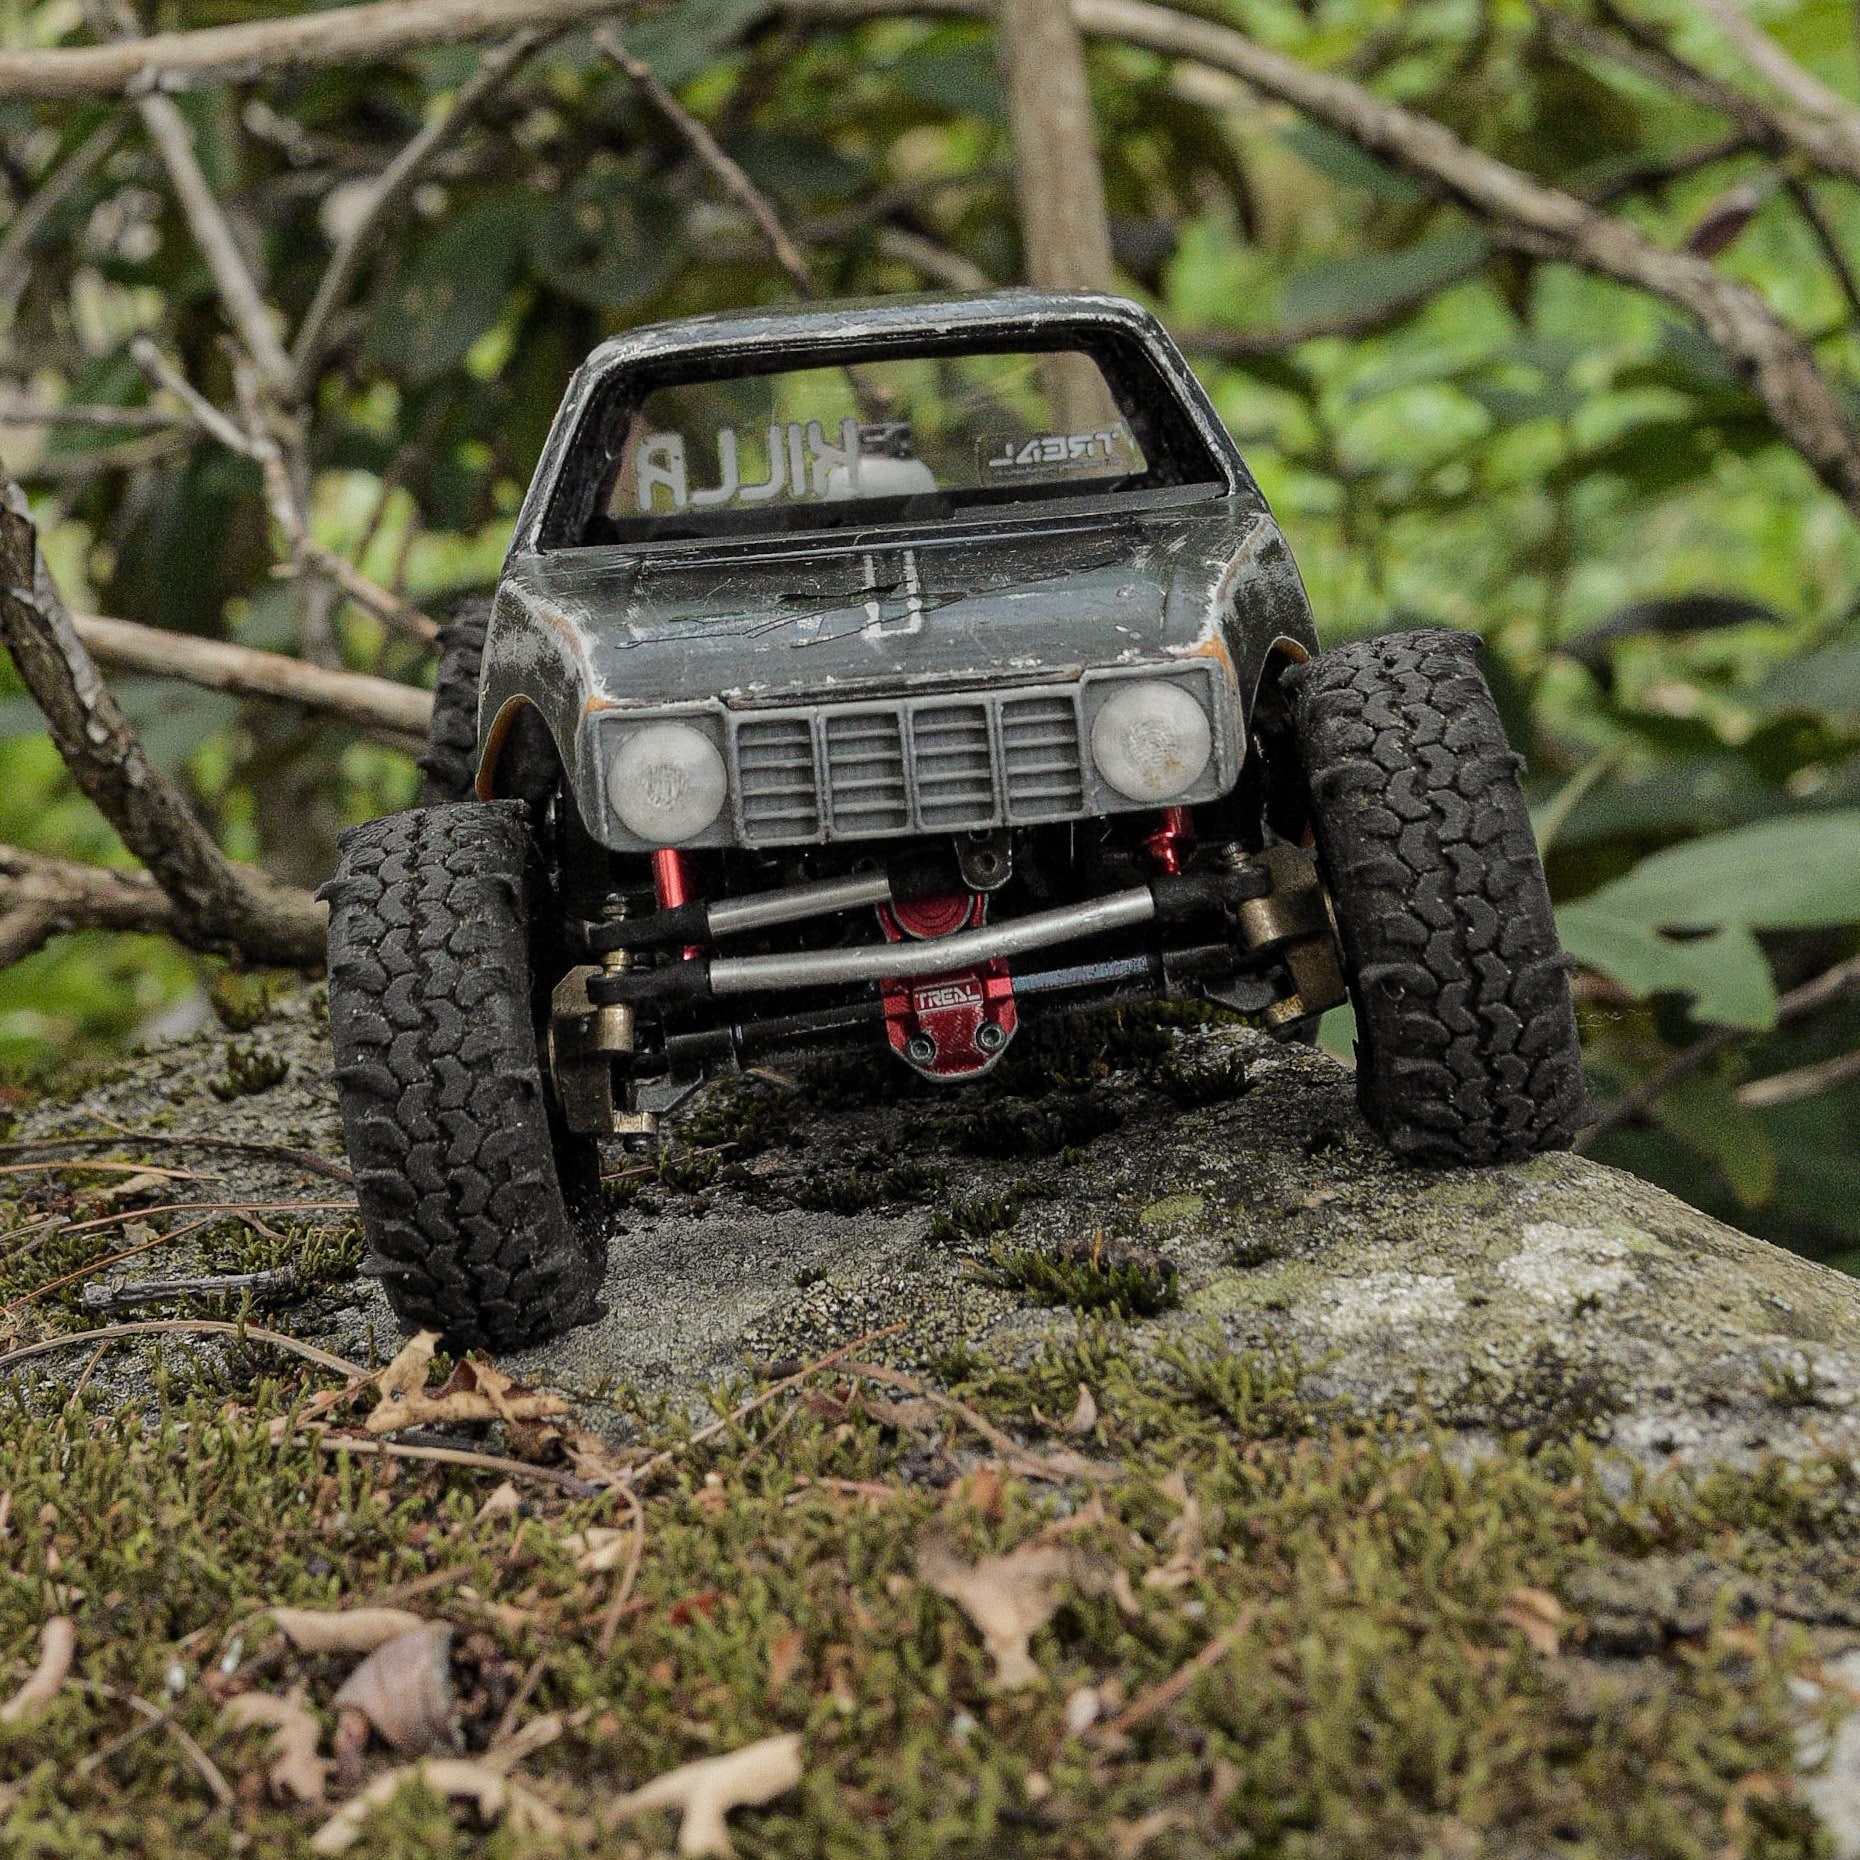
Are you looking to dominate your local SCX24 comp course? Are you looking for the best components to complete your Spectr Chassis Kit? Follow this guide for a complete breakdown on setting up your Spectr for that competitive edge.
Chassis Kit:
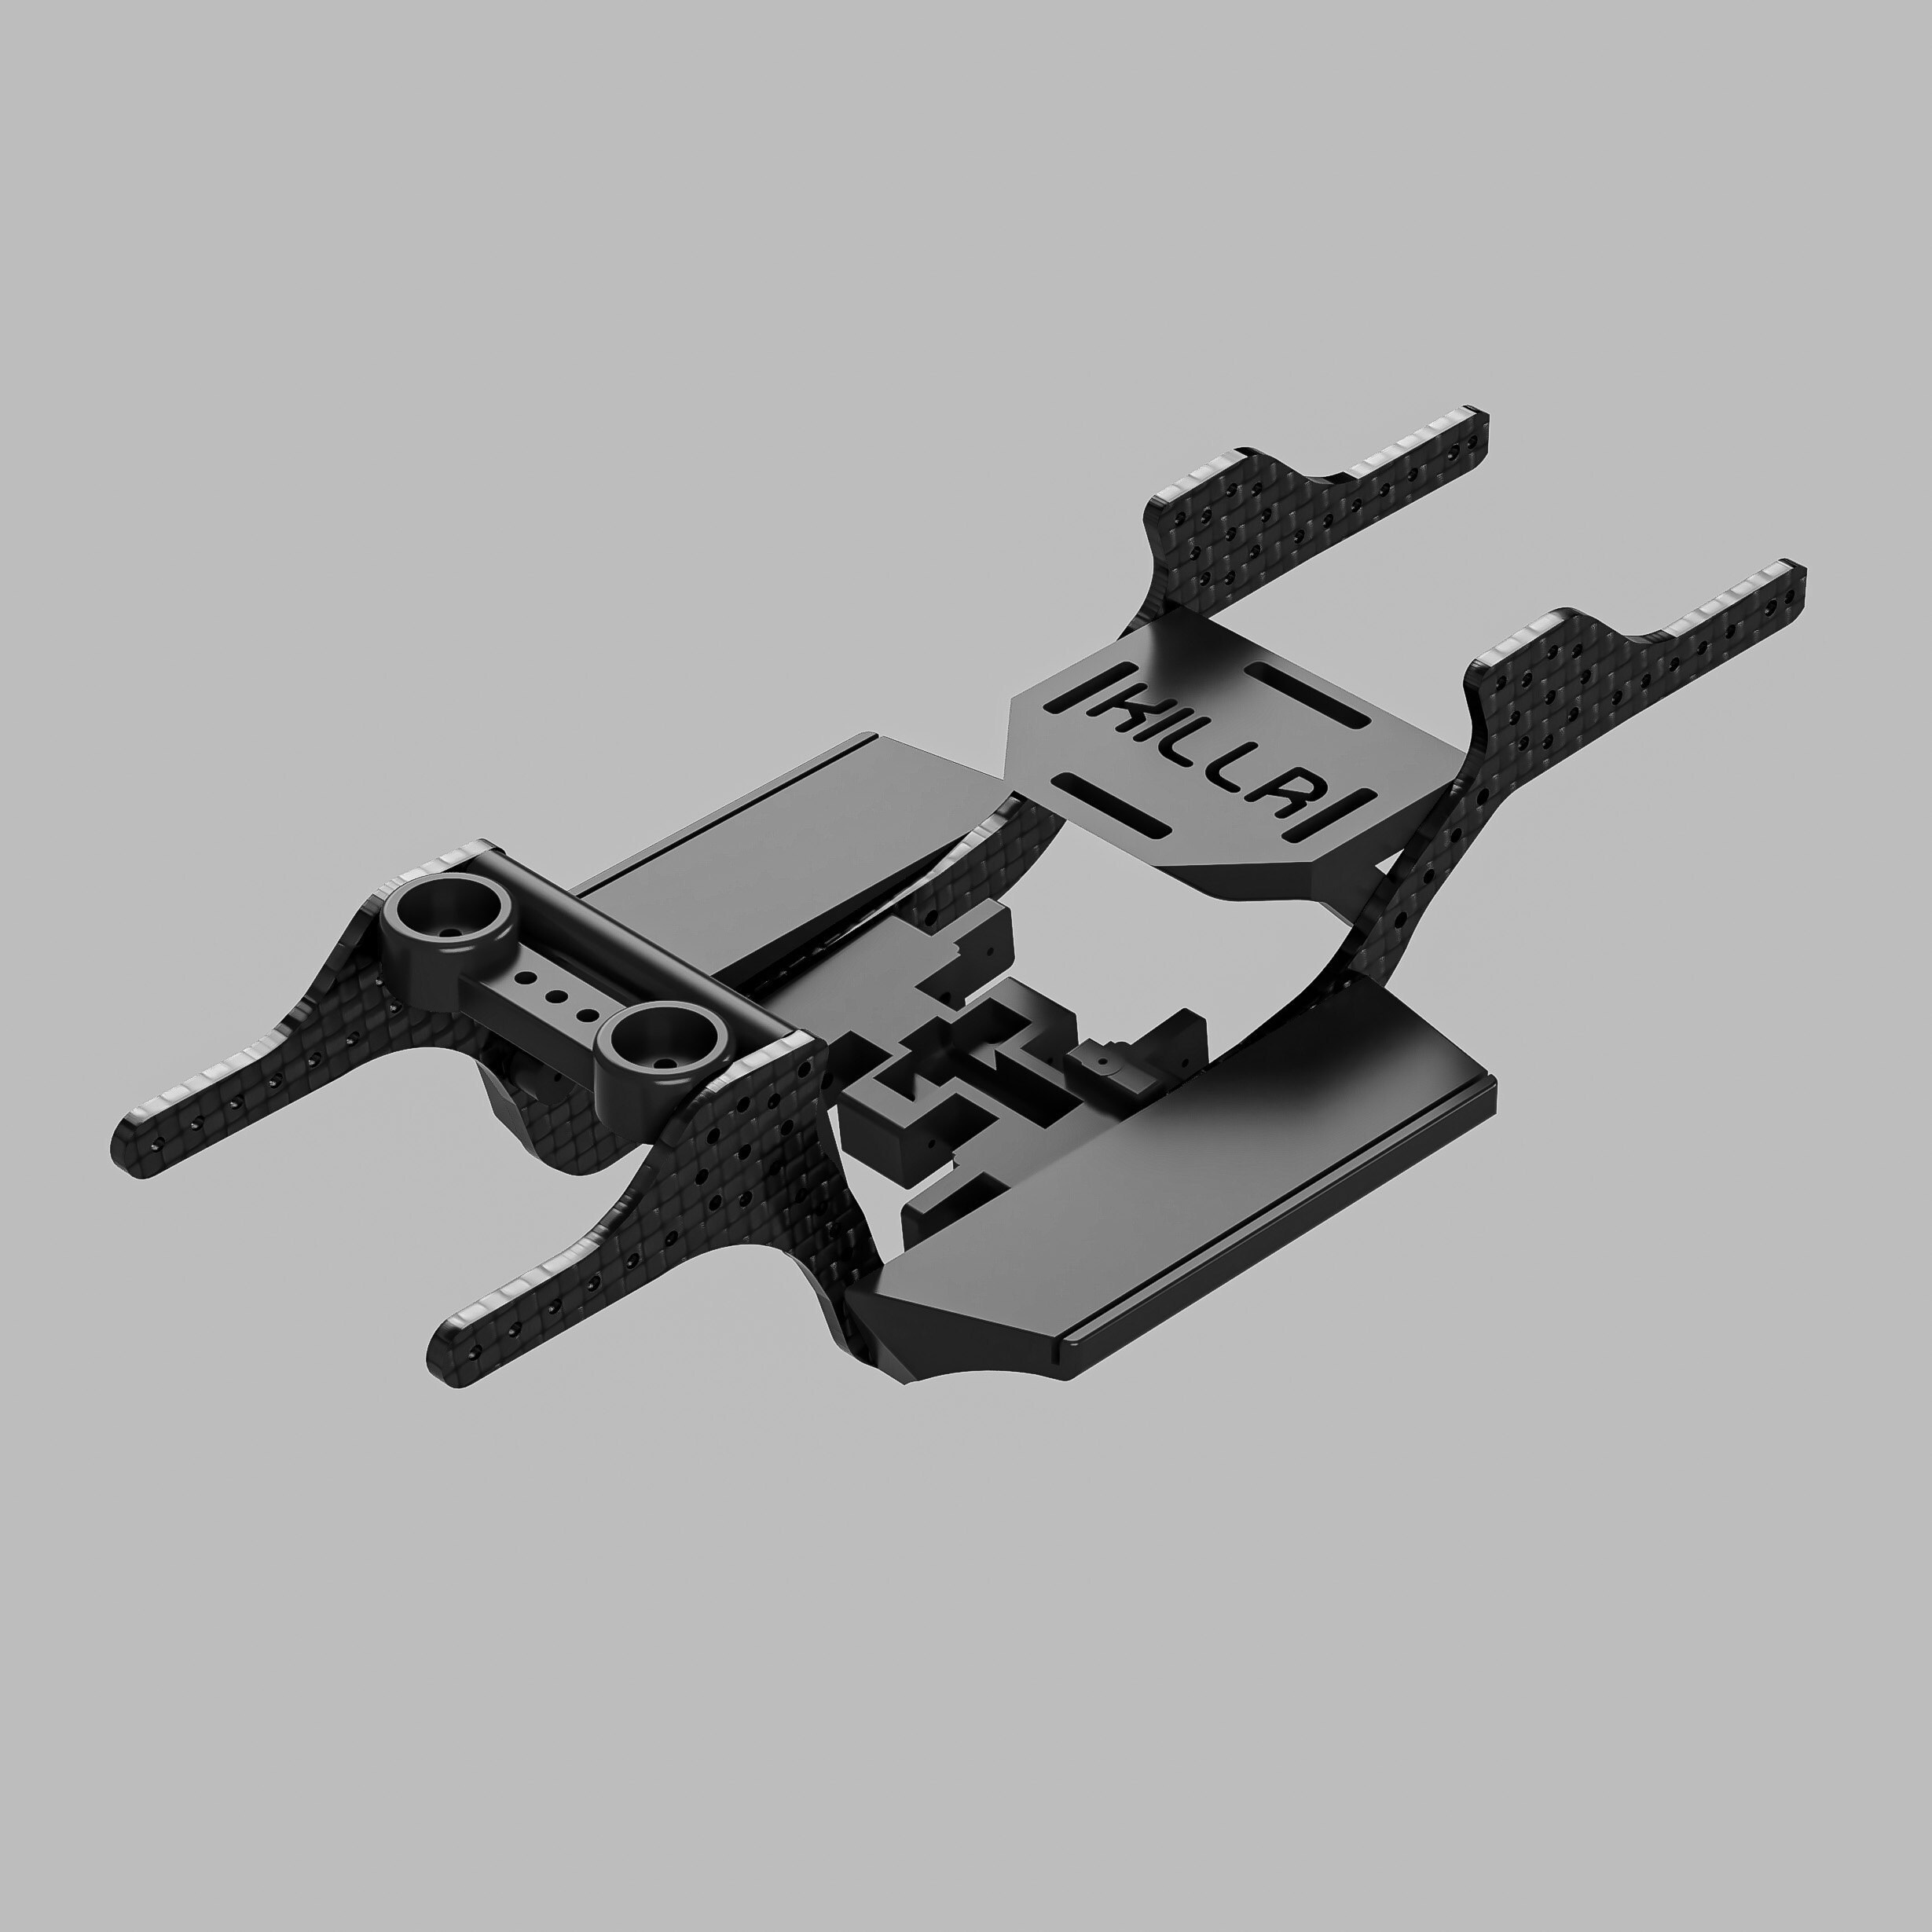
The first component needed to build any rig is a chassis. Here at Killr Chassis, we offer a variety of chassis in various materials so you can build to your preferences. For our comp setup, we chose to build around the Spectr CF Chassis Kit due to the rigidity and lightweight nature of the chassis. This chassis allows you to arrange your electronics in a variety of ways so that you can tune the weight bias of your truck depending on the application. We will cover electronics and electronics placement later in this guide.
Axles:
The axles you choose to put under your rig can have a huge impact on performance. Some axle options that customers have used include:
- Stock SCX24 Axles
- Super 8 Straight & Super 8 Portal Axles
- Treal 7075 Straight Axles
- Treal 7075 Portal Axles
- RCAWD Portal Axles
- MoFo RC Portal Axles
- FCX24 Portal Axles
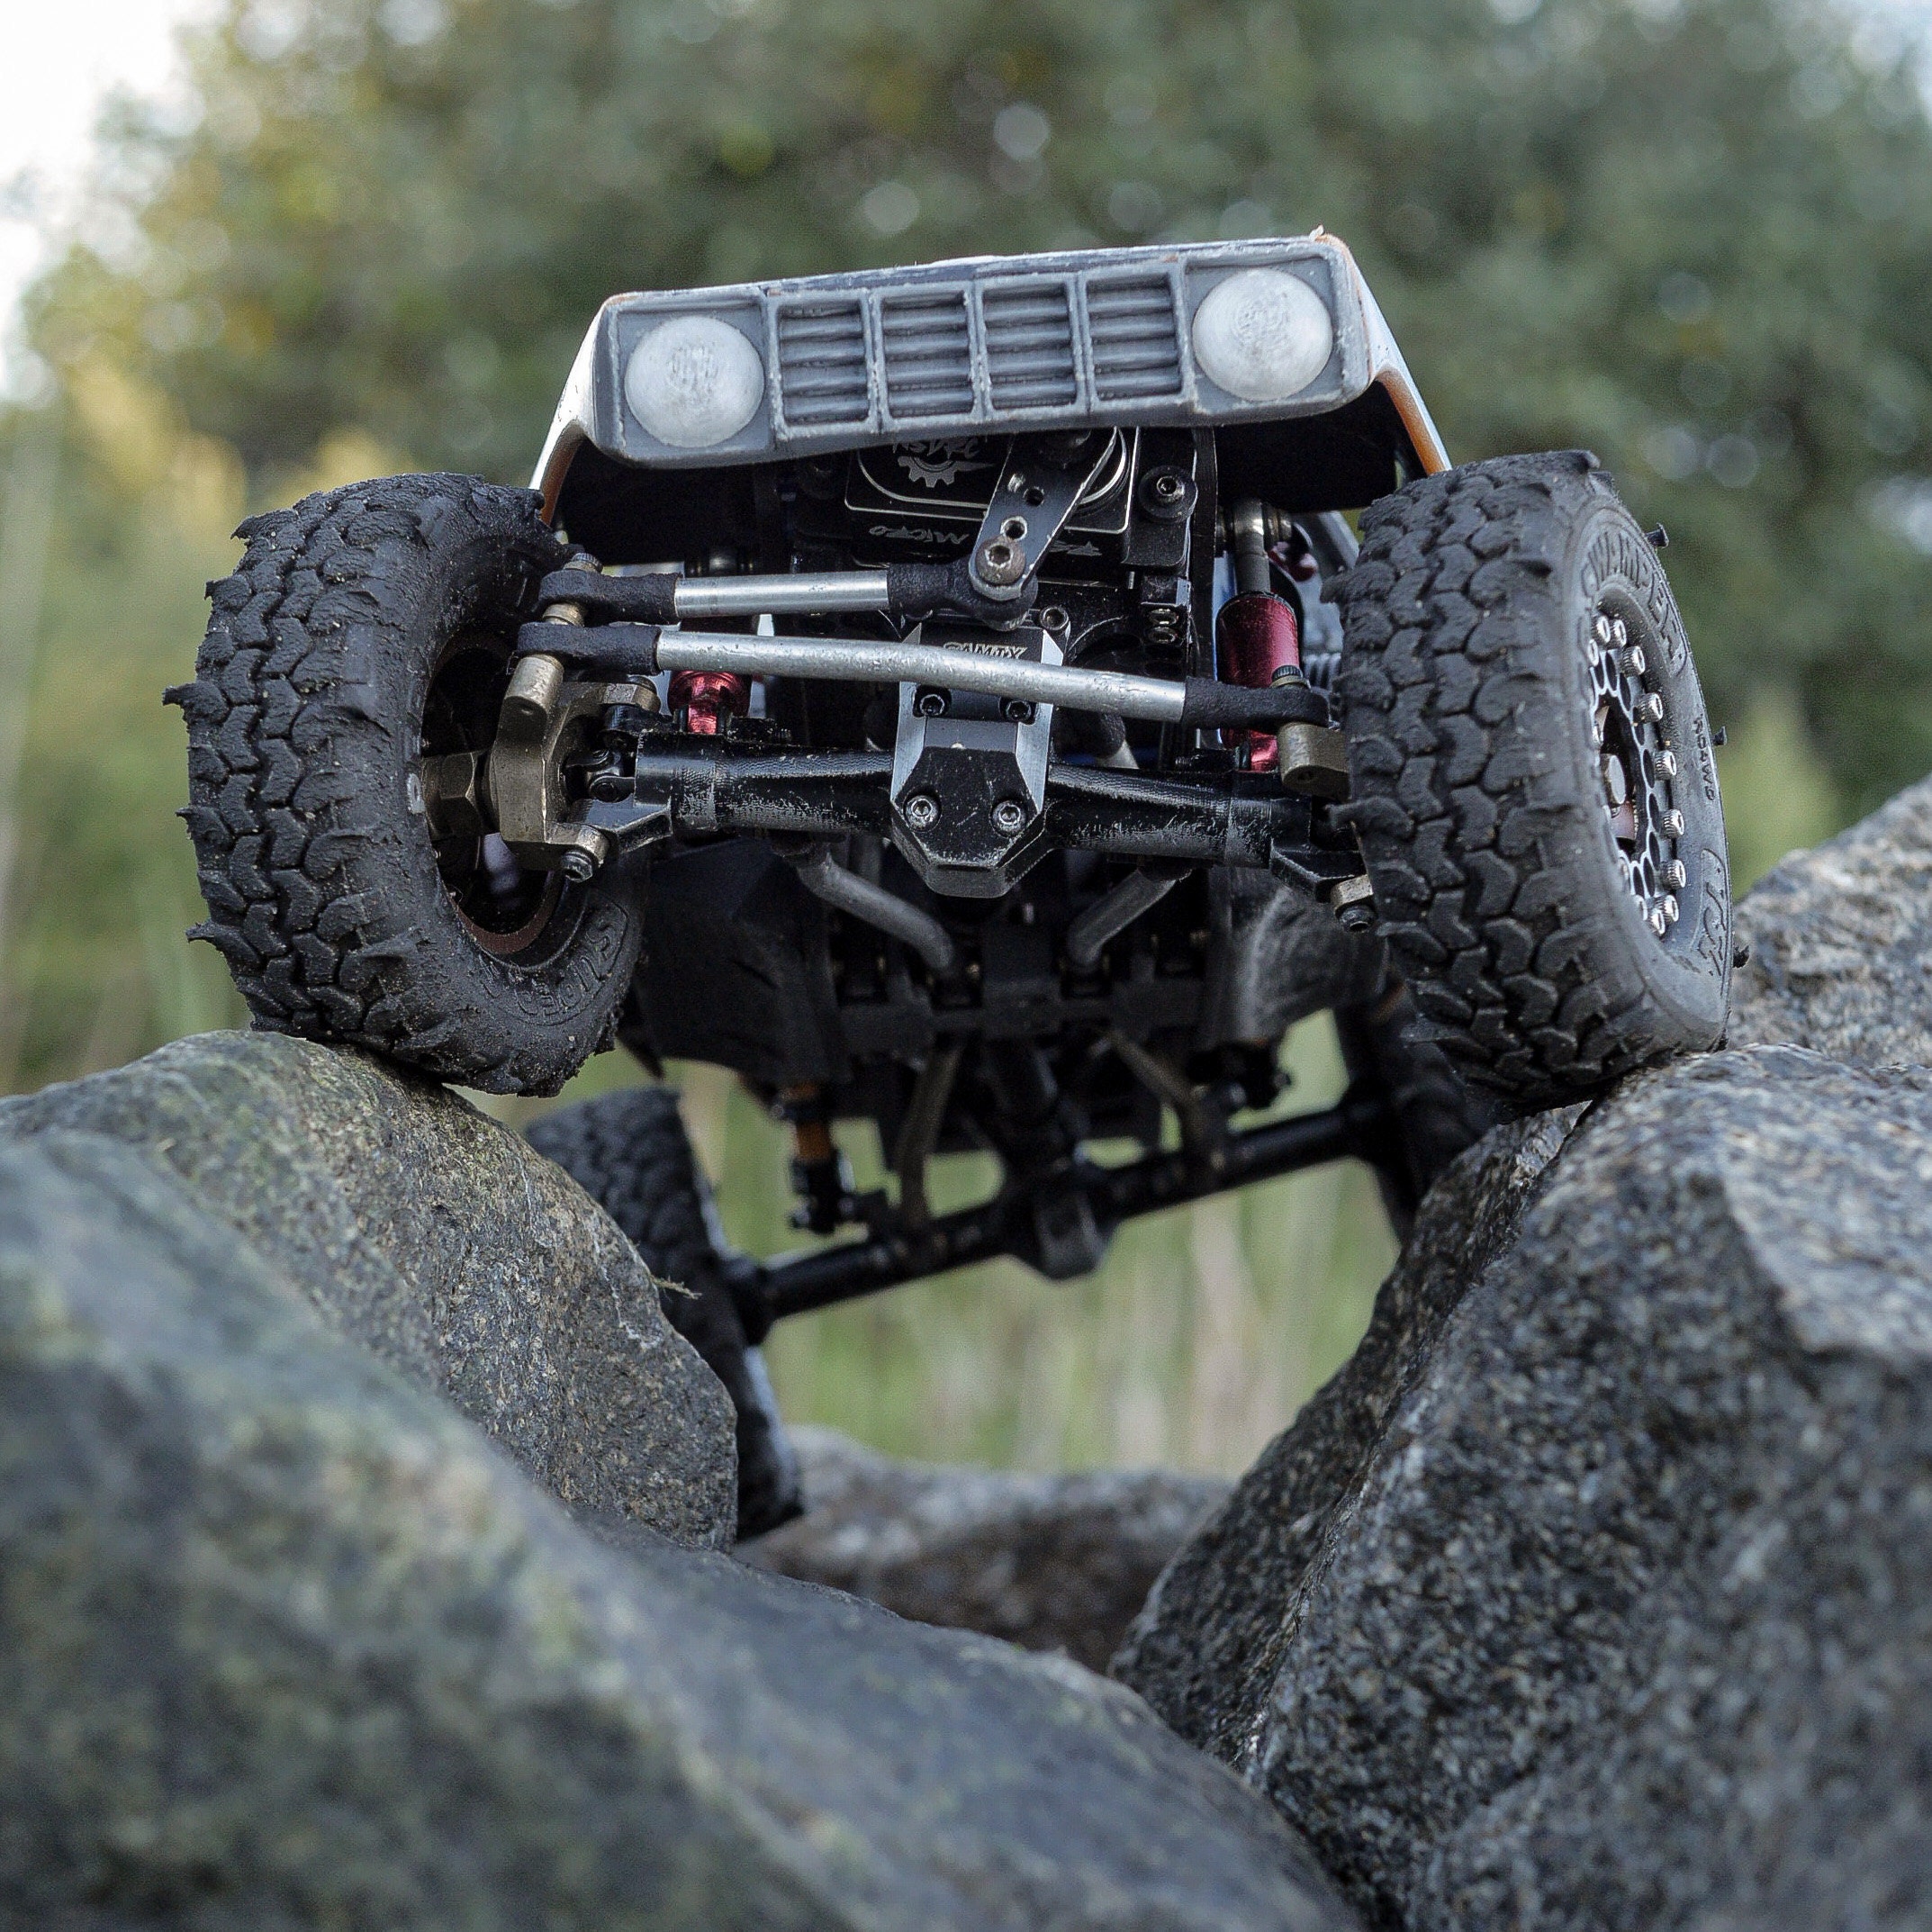
For our build, we chose to use Treal 7075 straight axles. We chose these axles in order to keep the truck relatively narrow while adding some weight down low. Not to mention, the Treal 7075 axles are incredibly rigid. We set up these axles with a variety of parts including:
Front Axle:
- Fast Eddy Bearings
- Yeah Racing Brass Knuckles
- MoFo RC 30% OD Gears
- MoFo RC B.S.M.E Servo Mount
- Dlux Fab U-Joint Axle Shafts
- Custom Crossover Steering Links
- Brass +4mm Hex
Rear Axle:
- Fast Eddy Bearings
- Stock SCX24 Axle Shafts
- Stock SCX24 Gears
- Treal Rear Axle Truss
- Brass +4mm Hex
Depending on your preferences, you may want to use a different gear set in the front axle. We chose to use a 30% OD gear set to improve the vertical abilities of our rig. Keep in mind, higher overdrive percentages will create more driveline bind and a decrease in sidehilling ability.
Links & Wheelbase:
The Spectr Chassis Kit is designed for the C10/JLU wheelbase (134mm) with a 4-linked front end. We chose to stretch our wheelbase to 146mm in order to gain some performance while climbing. Depending on your terrain, you may choose to run a wheelbase between 134-146mm. If you plan to run a wheelbase longer than 146mm, you may want to consider the Spectr XL.
While they are not required, we highly recommend using high clearance links in the rear and straight links in the front. If you plan on using high clearance links, you will need to be sure that the rear upper and lower links are bent so that the links will clear each other during articulation. This can be avoided by using a link riser on the rear axle.
Shocks & Suspension:
We have tested a variety of shocks on the Spectr chassis and found two setups that work flawlessly.
Setup #1:
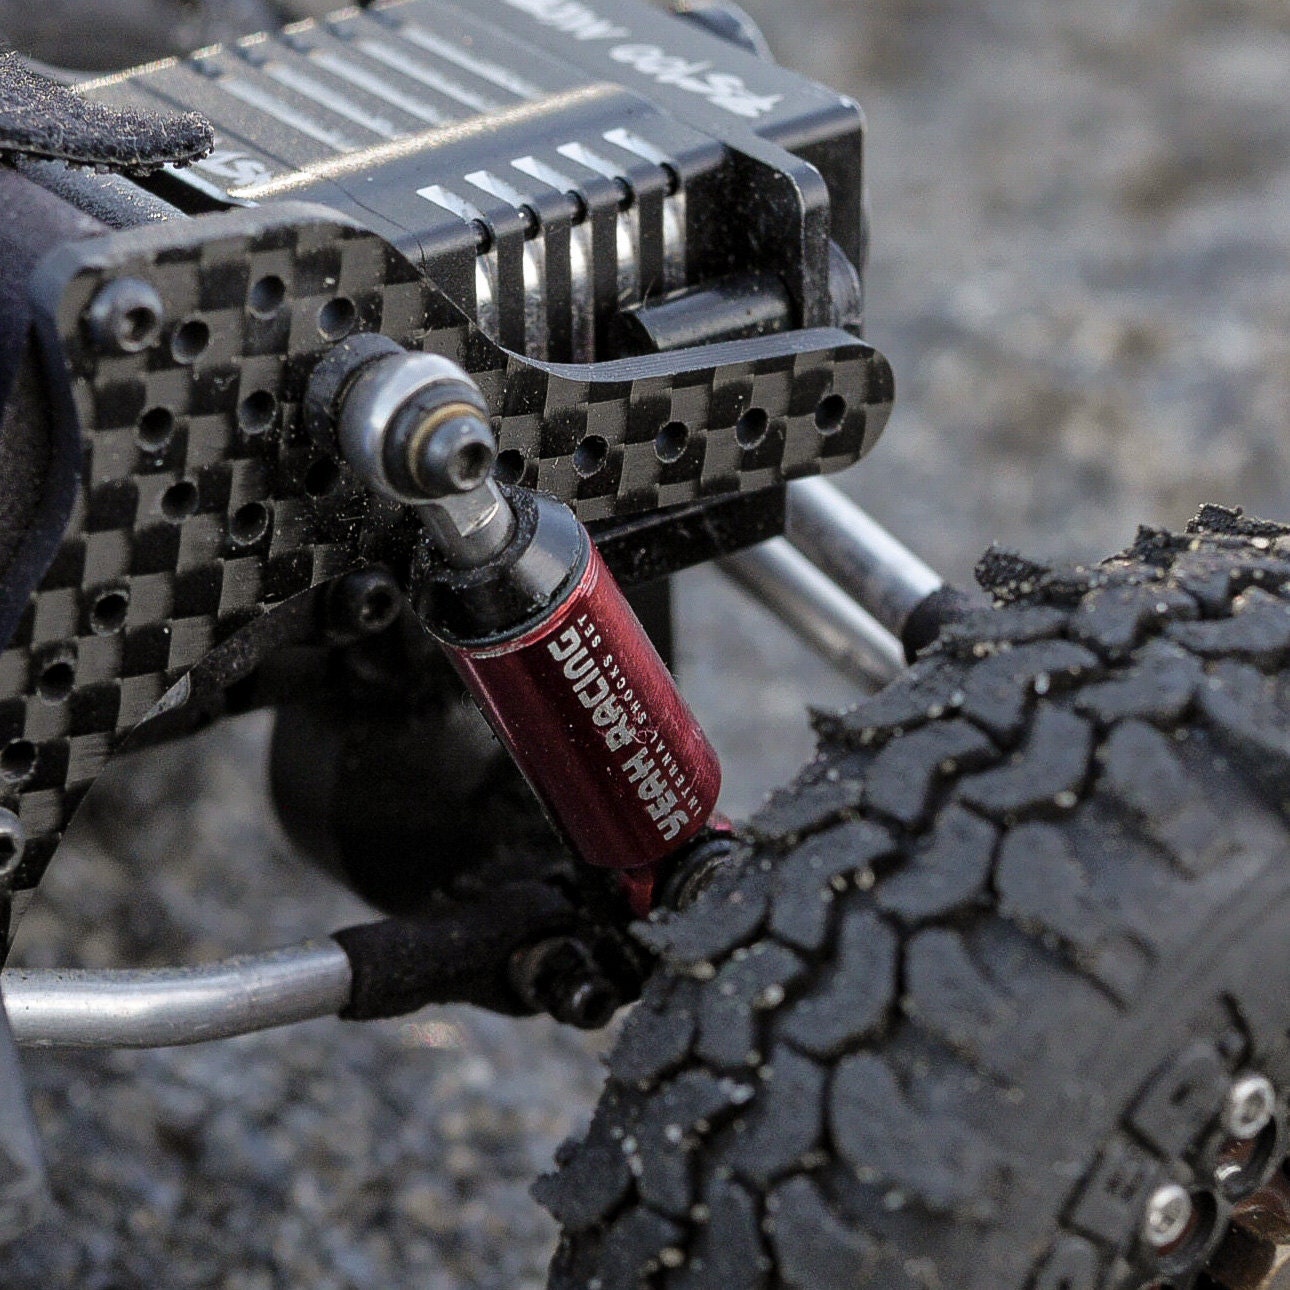
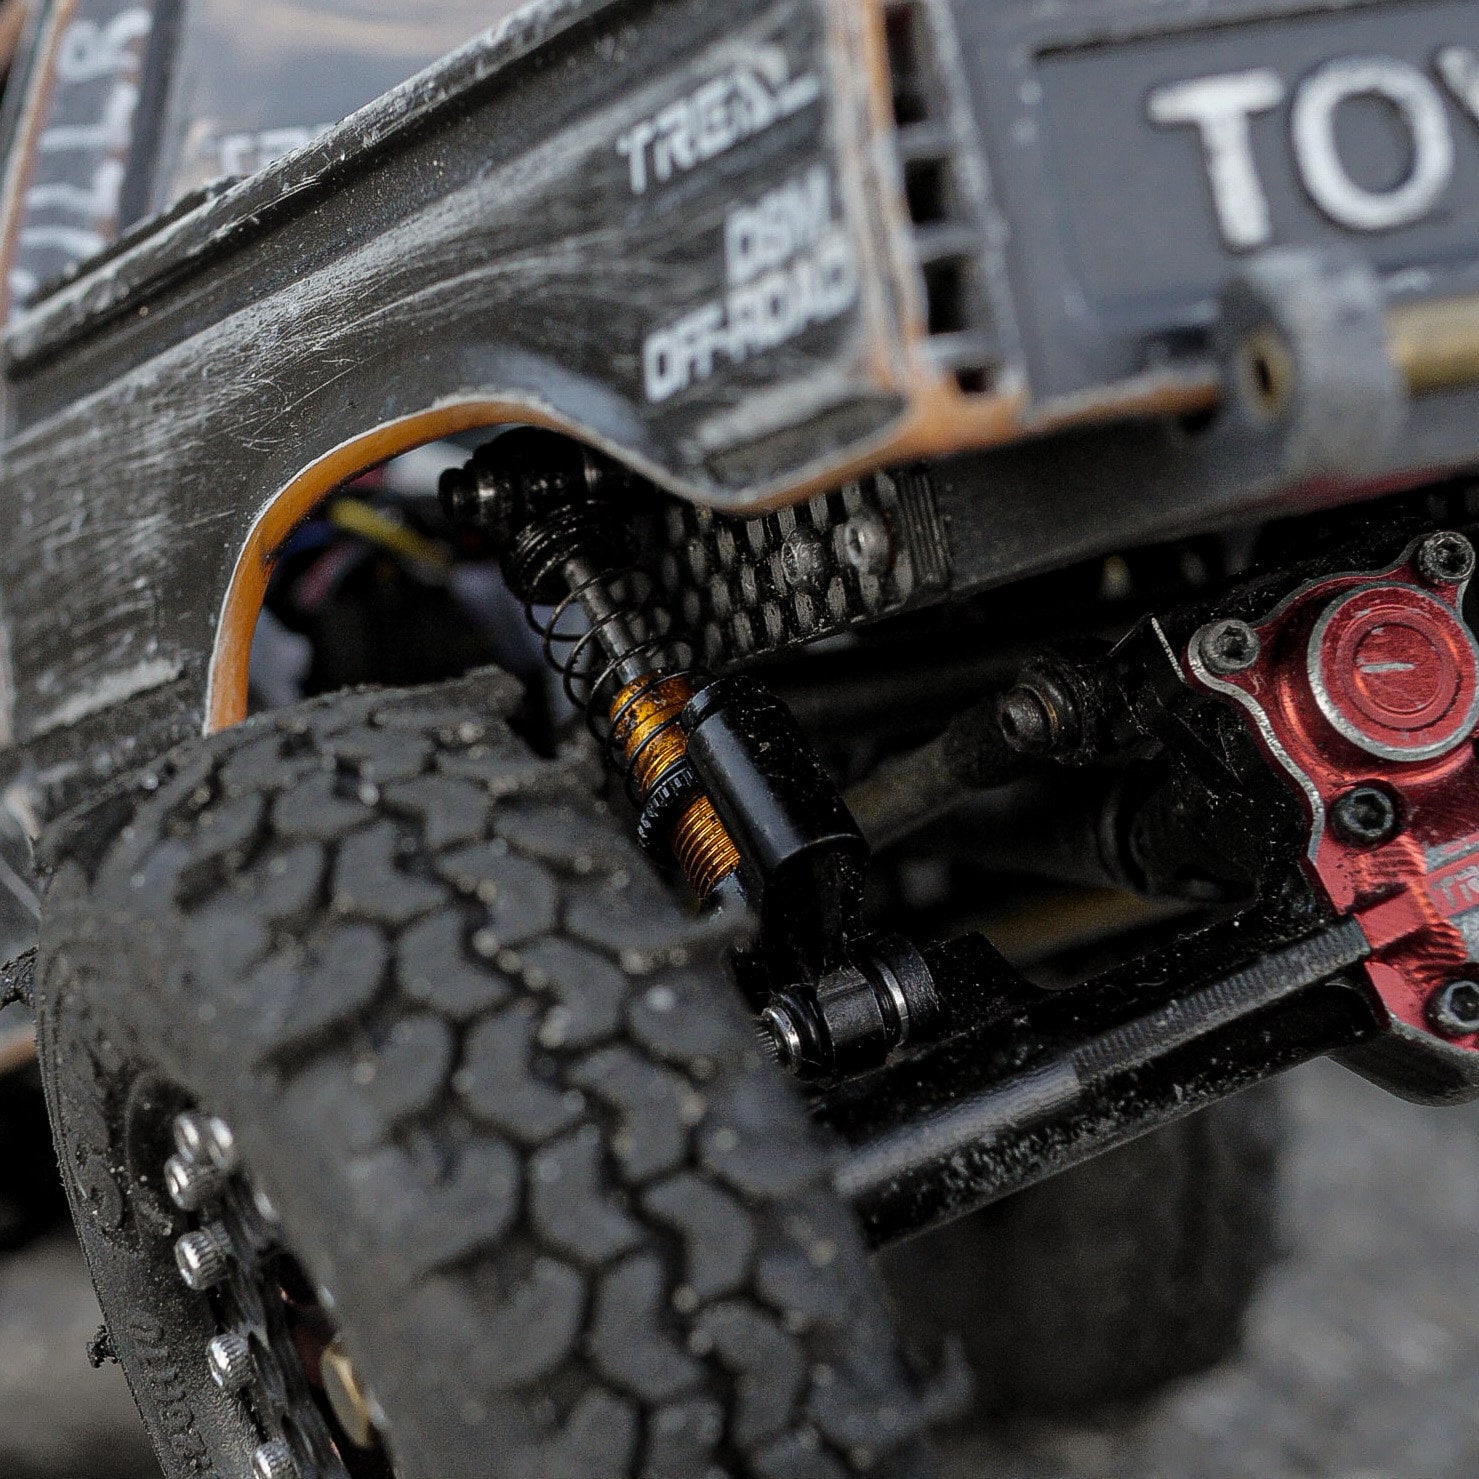
For tackling the toughest vertical obstacles, we recommend using Yeah Racing Internal Spring Shocks in the front. You'll want to take the shocks apart and thread the spring onto the shock shaft. This will force the shock to remain compressed as to prevent the front end from unloading while climbing. In the rear, we recommend the use of Hot Racing Oil Emulsion Shocks with your choice of shock oil.
Setup #2:
For general crawling, we recommend the use of Hot Racing Oil Emulsion shocks front and rear with your choice of shock oil. These shocks cycle smoothly and can easily be tuned to your preference.
Wheels & Tires:
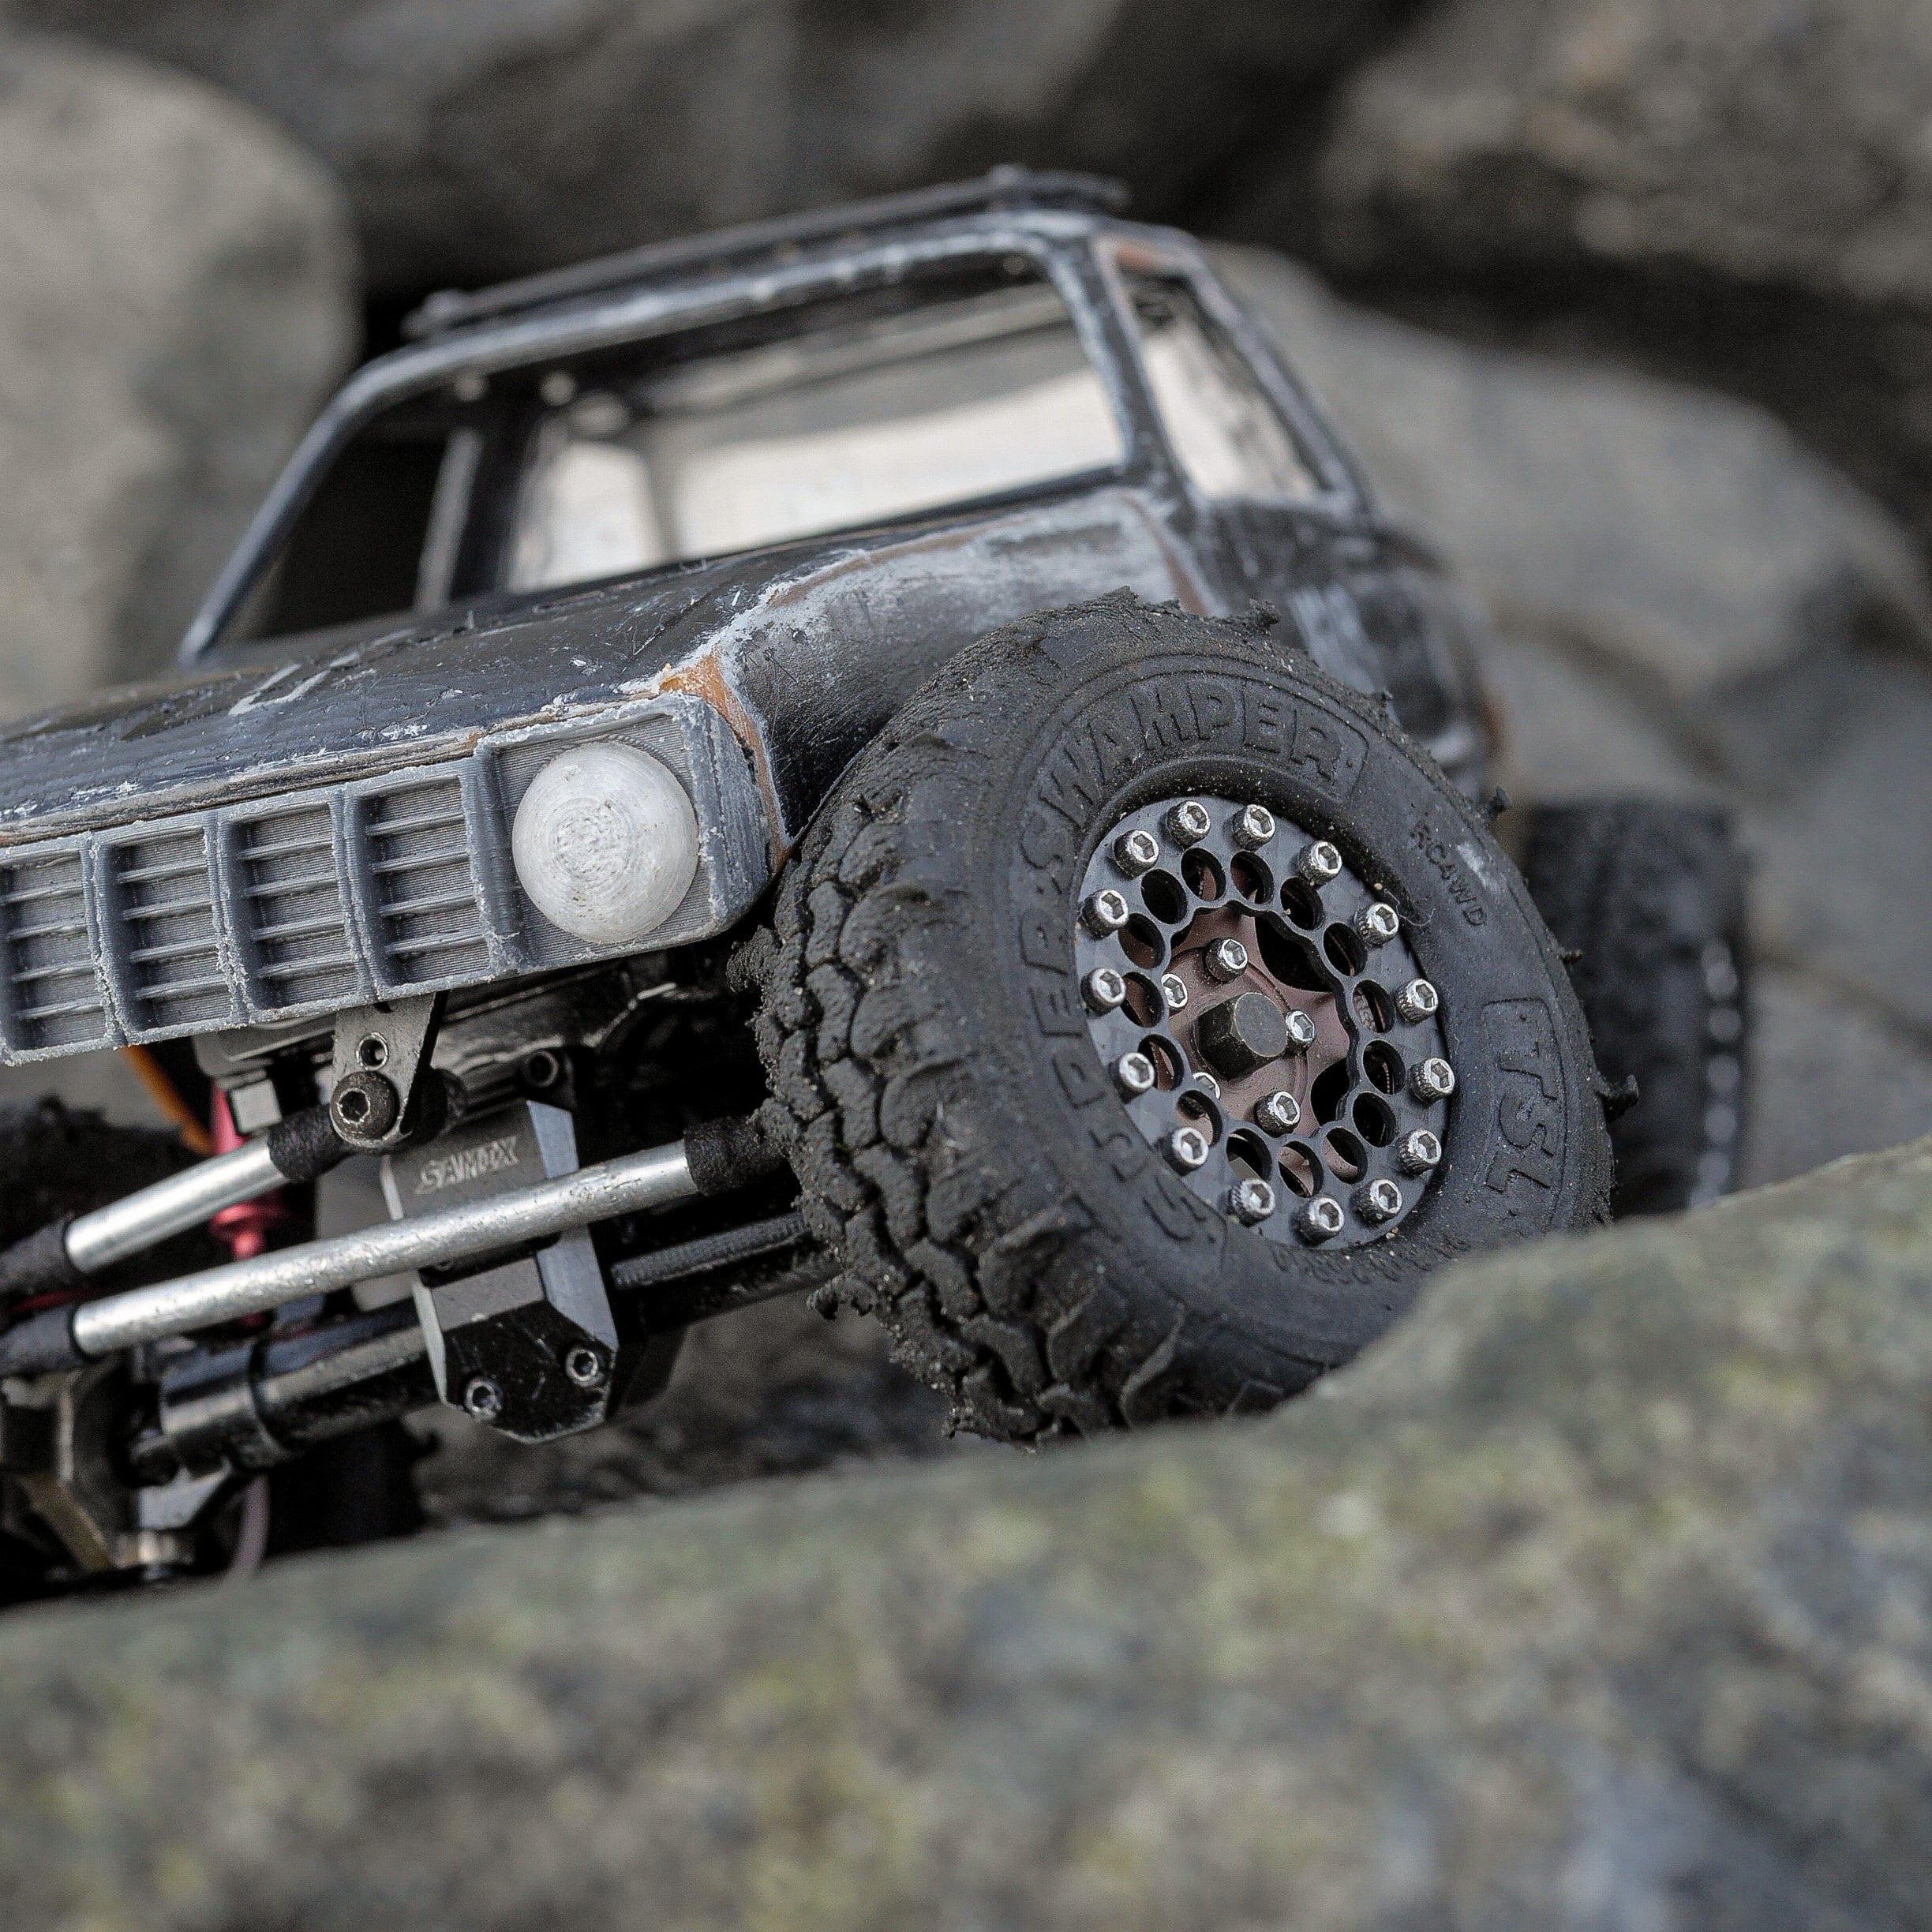
On our build, we opted for a set of Treal Type-B wheels wrapped in Interco Narrow TSL tires from RC4WD. To finish it off, we bolted up a set of Fortress Beadlock Rings from Killr Chassis.
We recommend using beadlock wheels with brass inner rings to add weight down low. This will tremendously improve the capability of your rig. Tires should be picked according to your specific terrain.
Transmission:
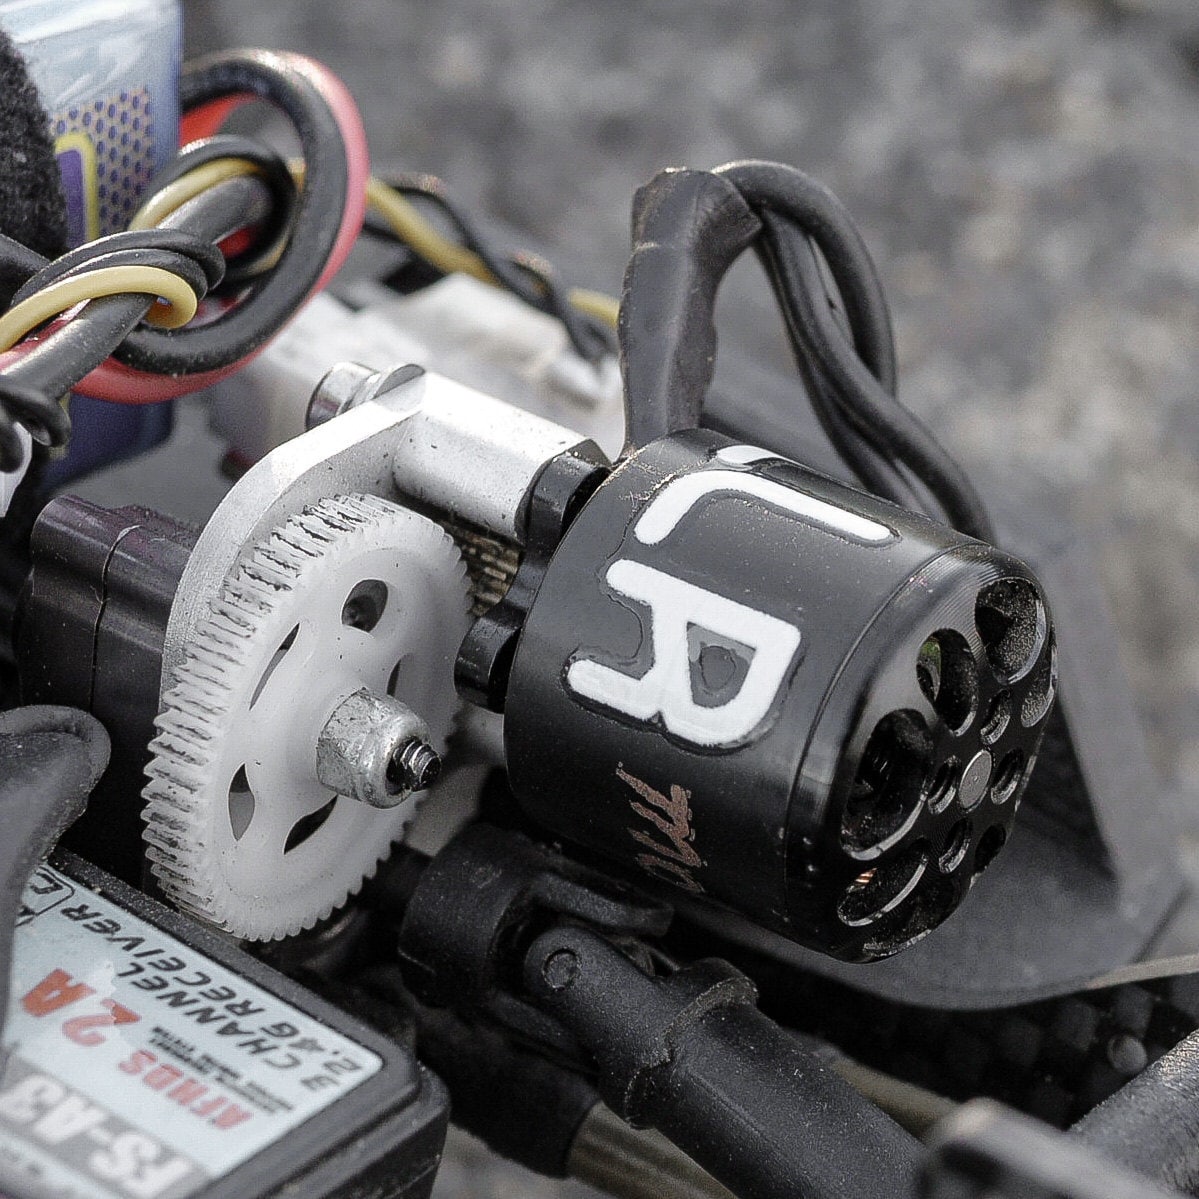
For our build, we chose to run a set of steel gears inside of a Treal 7075 transmission housing. In our testing, we've found that the stock transmission housing has a tendency to strip out and crack. Steel gears are not required as the stock plastic gears will work fine in most situations. We opted for steel gears simply for peace of mind. We have also enjoyed using Fast Eddy bearings in the transmission housing for ultra smooth operation.
Electronics:
The electronics you choose for your rig will play a tremendous role in the overall performance and feel of your rig. For our build, we chose to use the electronics below:
- Battery: Galaxy 250mah 3s Lipo
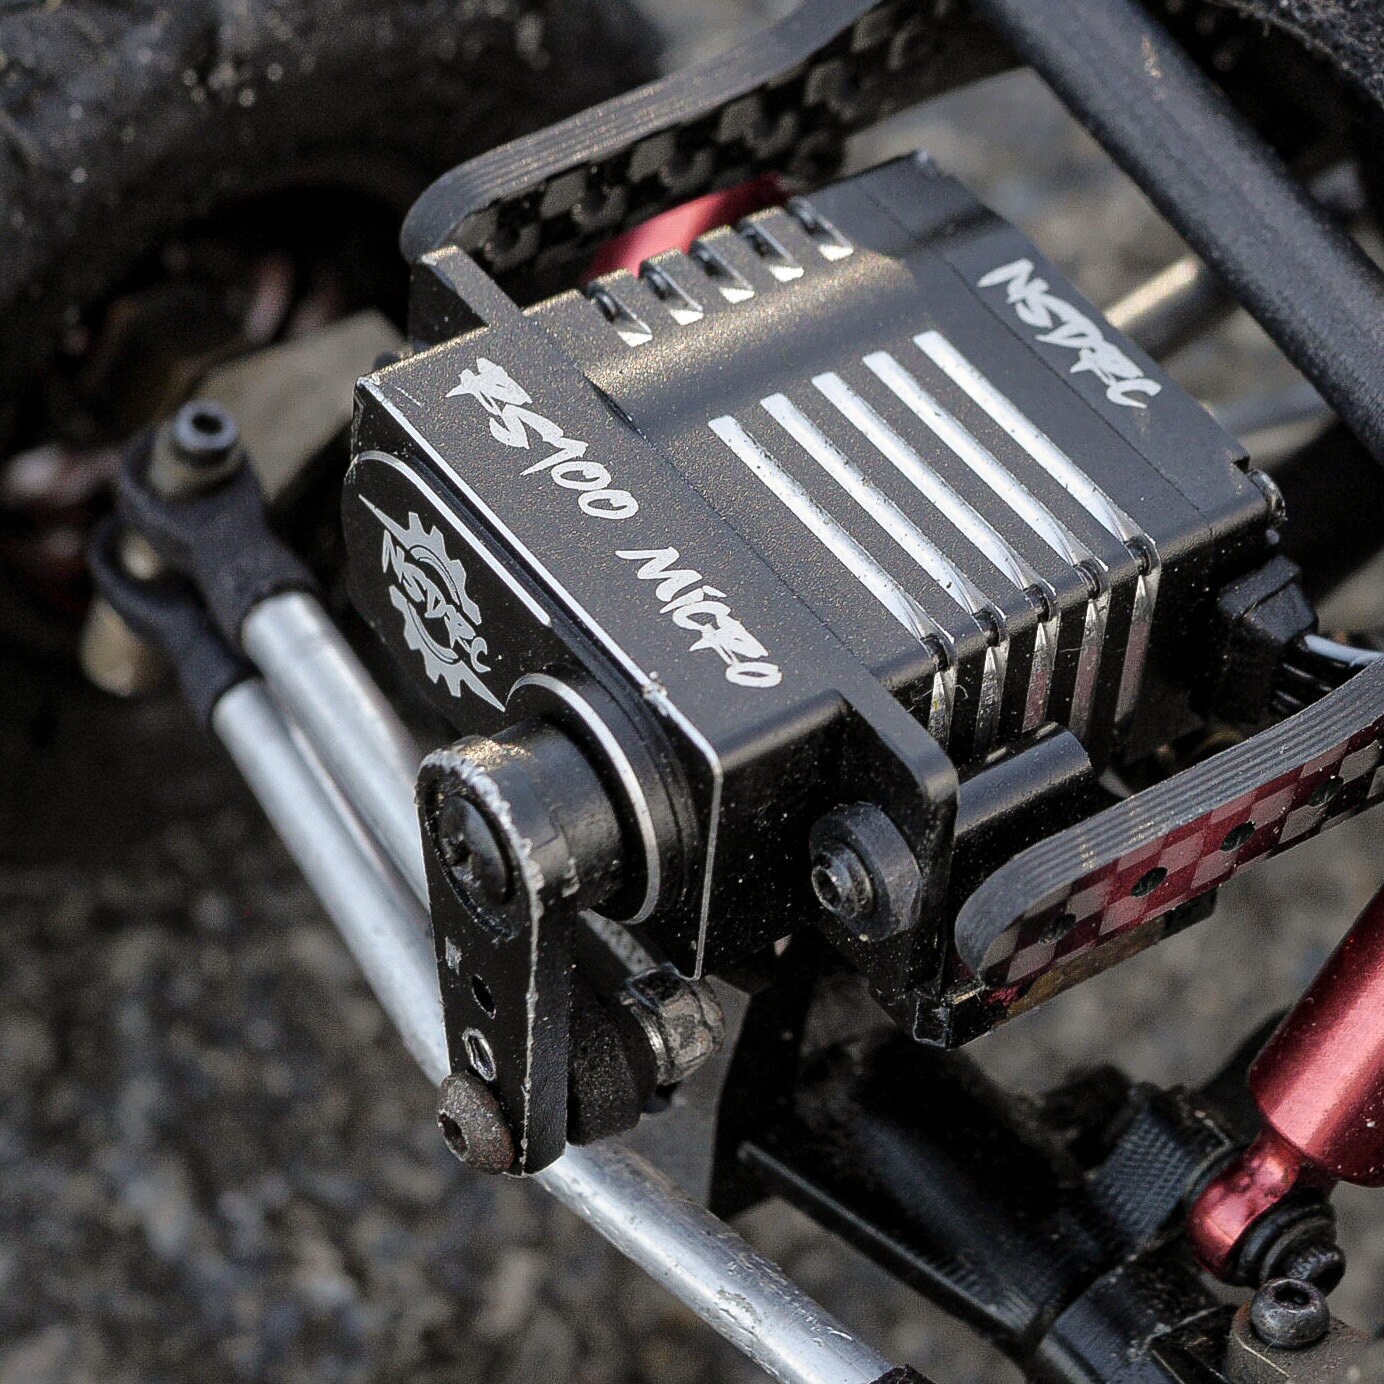
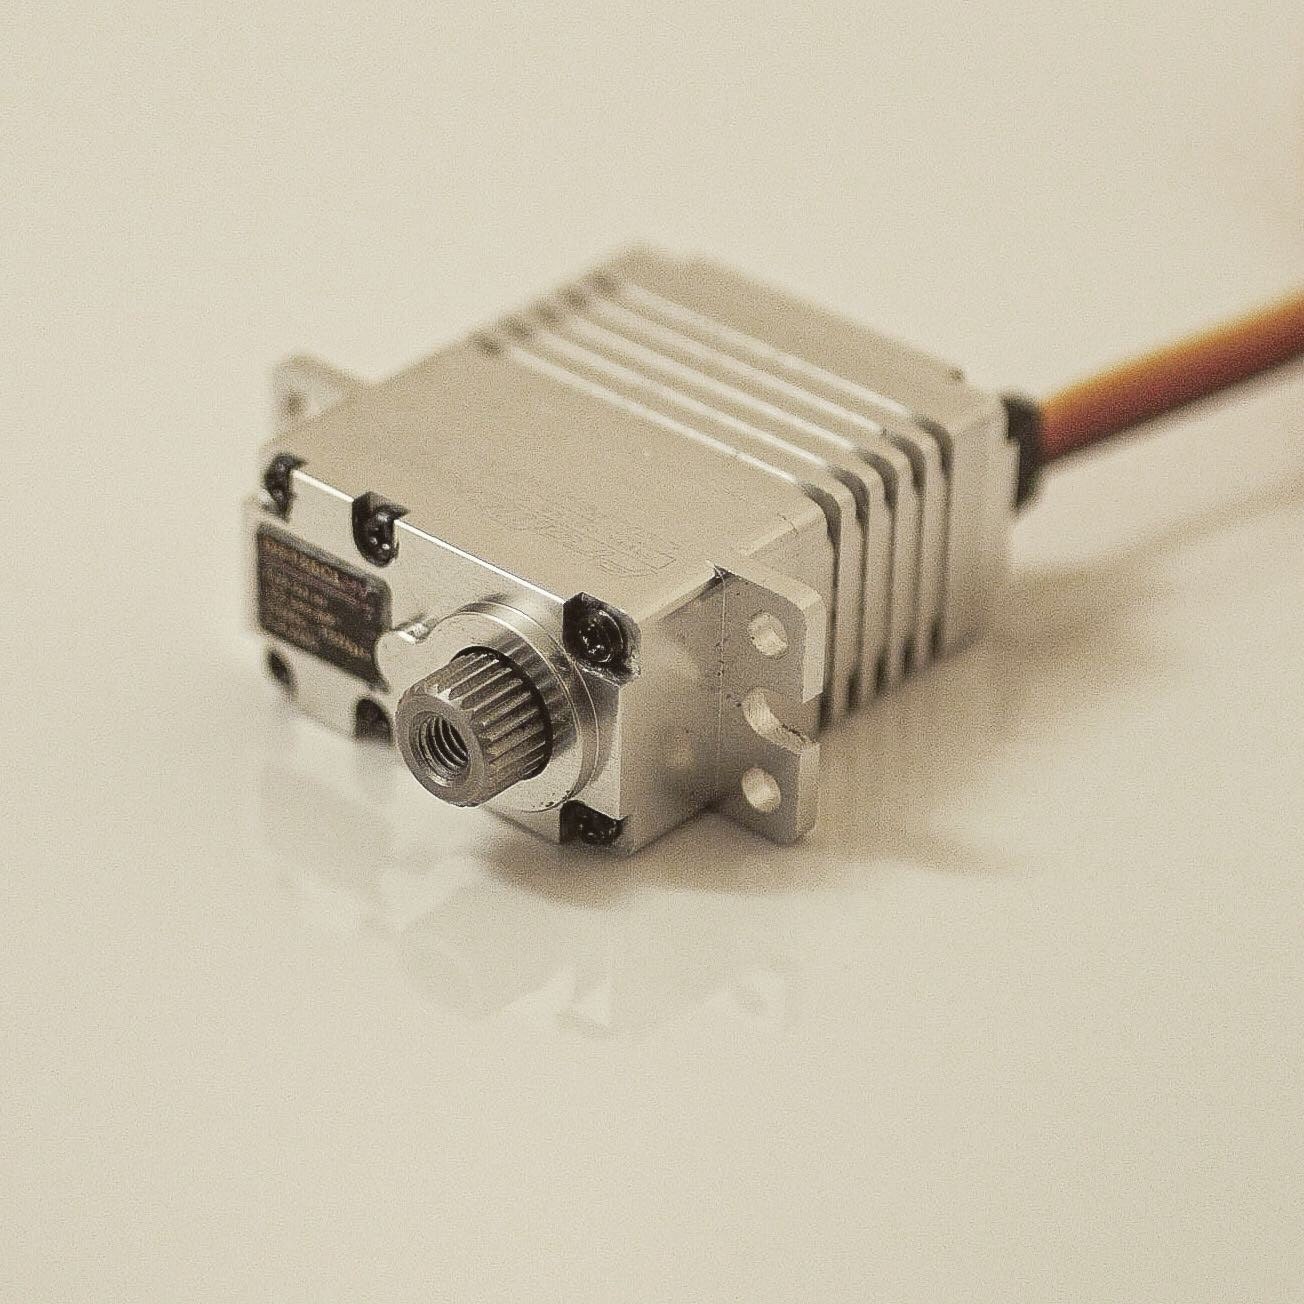
- Servo: NSDRC RS100 Micro
- ESC: Furitek Lizard Pro
- BEC: NSDRC 8.4v Micro BEC
- Motor: MoFo RC Nano Beast Outrunner 2700kv
- Reciever: FS2A-4ch for FlySky TX
These electronics have provided us with hours of smooth and reliable operation in the toughest of conditions. However, there are a multitude of other options that we would recommend as well. Some other electronics recommendations can be found below:
Servos:
- NSDRC RS100 Micro
- AGFRC A20CLS
- Promodeler DS105CLHV
- Promodeler DS125CLHV
- Promodeler DS125CLHV Brass Monkey
ESCs:
- Furitek Lizard Pro
- Castle Creations Micro Sidewinder 2
- Holmes Hobbies BR Mini (Brushed only)
Motors:
- MoFo RC Nano Beast Outrunner 2700kv (BL)
- MoFo RC SMP Outrunner (BL)
- MoFo RC BAM Outrunner (1900kv/4100kv) (BL)
- Furitek Micro Komodo Outrunner (BL)
- Furitek Komodo Outrunner (BL)
- PN Racing 70T 130 Motor (BR)
- PN Racing 90T 130 Motor (BR)
- 050 Motors (BR)
Batteries:
- Galaxy 250mah 3s Lipo
- Galaxy 180mah 3s Lipo
- ProTek 240mah 2s Lipo
There are other electronics available that are not mentioned above. However, we have verified that the electronics mentioned above are a great fit in the Spectr and Spectr XL chassis.
Lastly, in order to make the most out of your electronics setup, we highly recommend the use of an external micro BEC. This will allow your servo to operate at a high voltage without placing stress on the ESC. Micro BECs offer smooth and powerful operation of all your electronics. We recommend the NSDRC Micro BEC in your choice of voltage. For 3s, we suggest giving the 8.4v BEC a try. For 2s, the 7.4v option is plug and play.
Electronics Placement:
The placement of your electronics within the chassis can impact your ability to tackle various obstacles. Let's take a look at some of the ways we've achieved the best performance with different motor setups.
Nano Beast / Micro Komodo / PN Racing / 050 Motors:
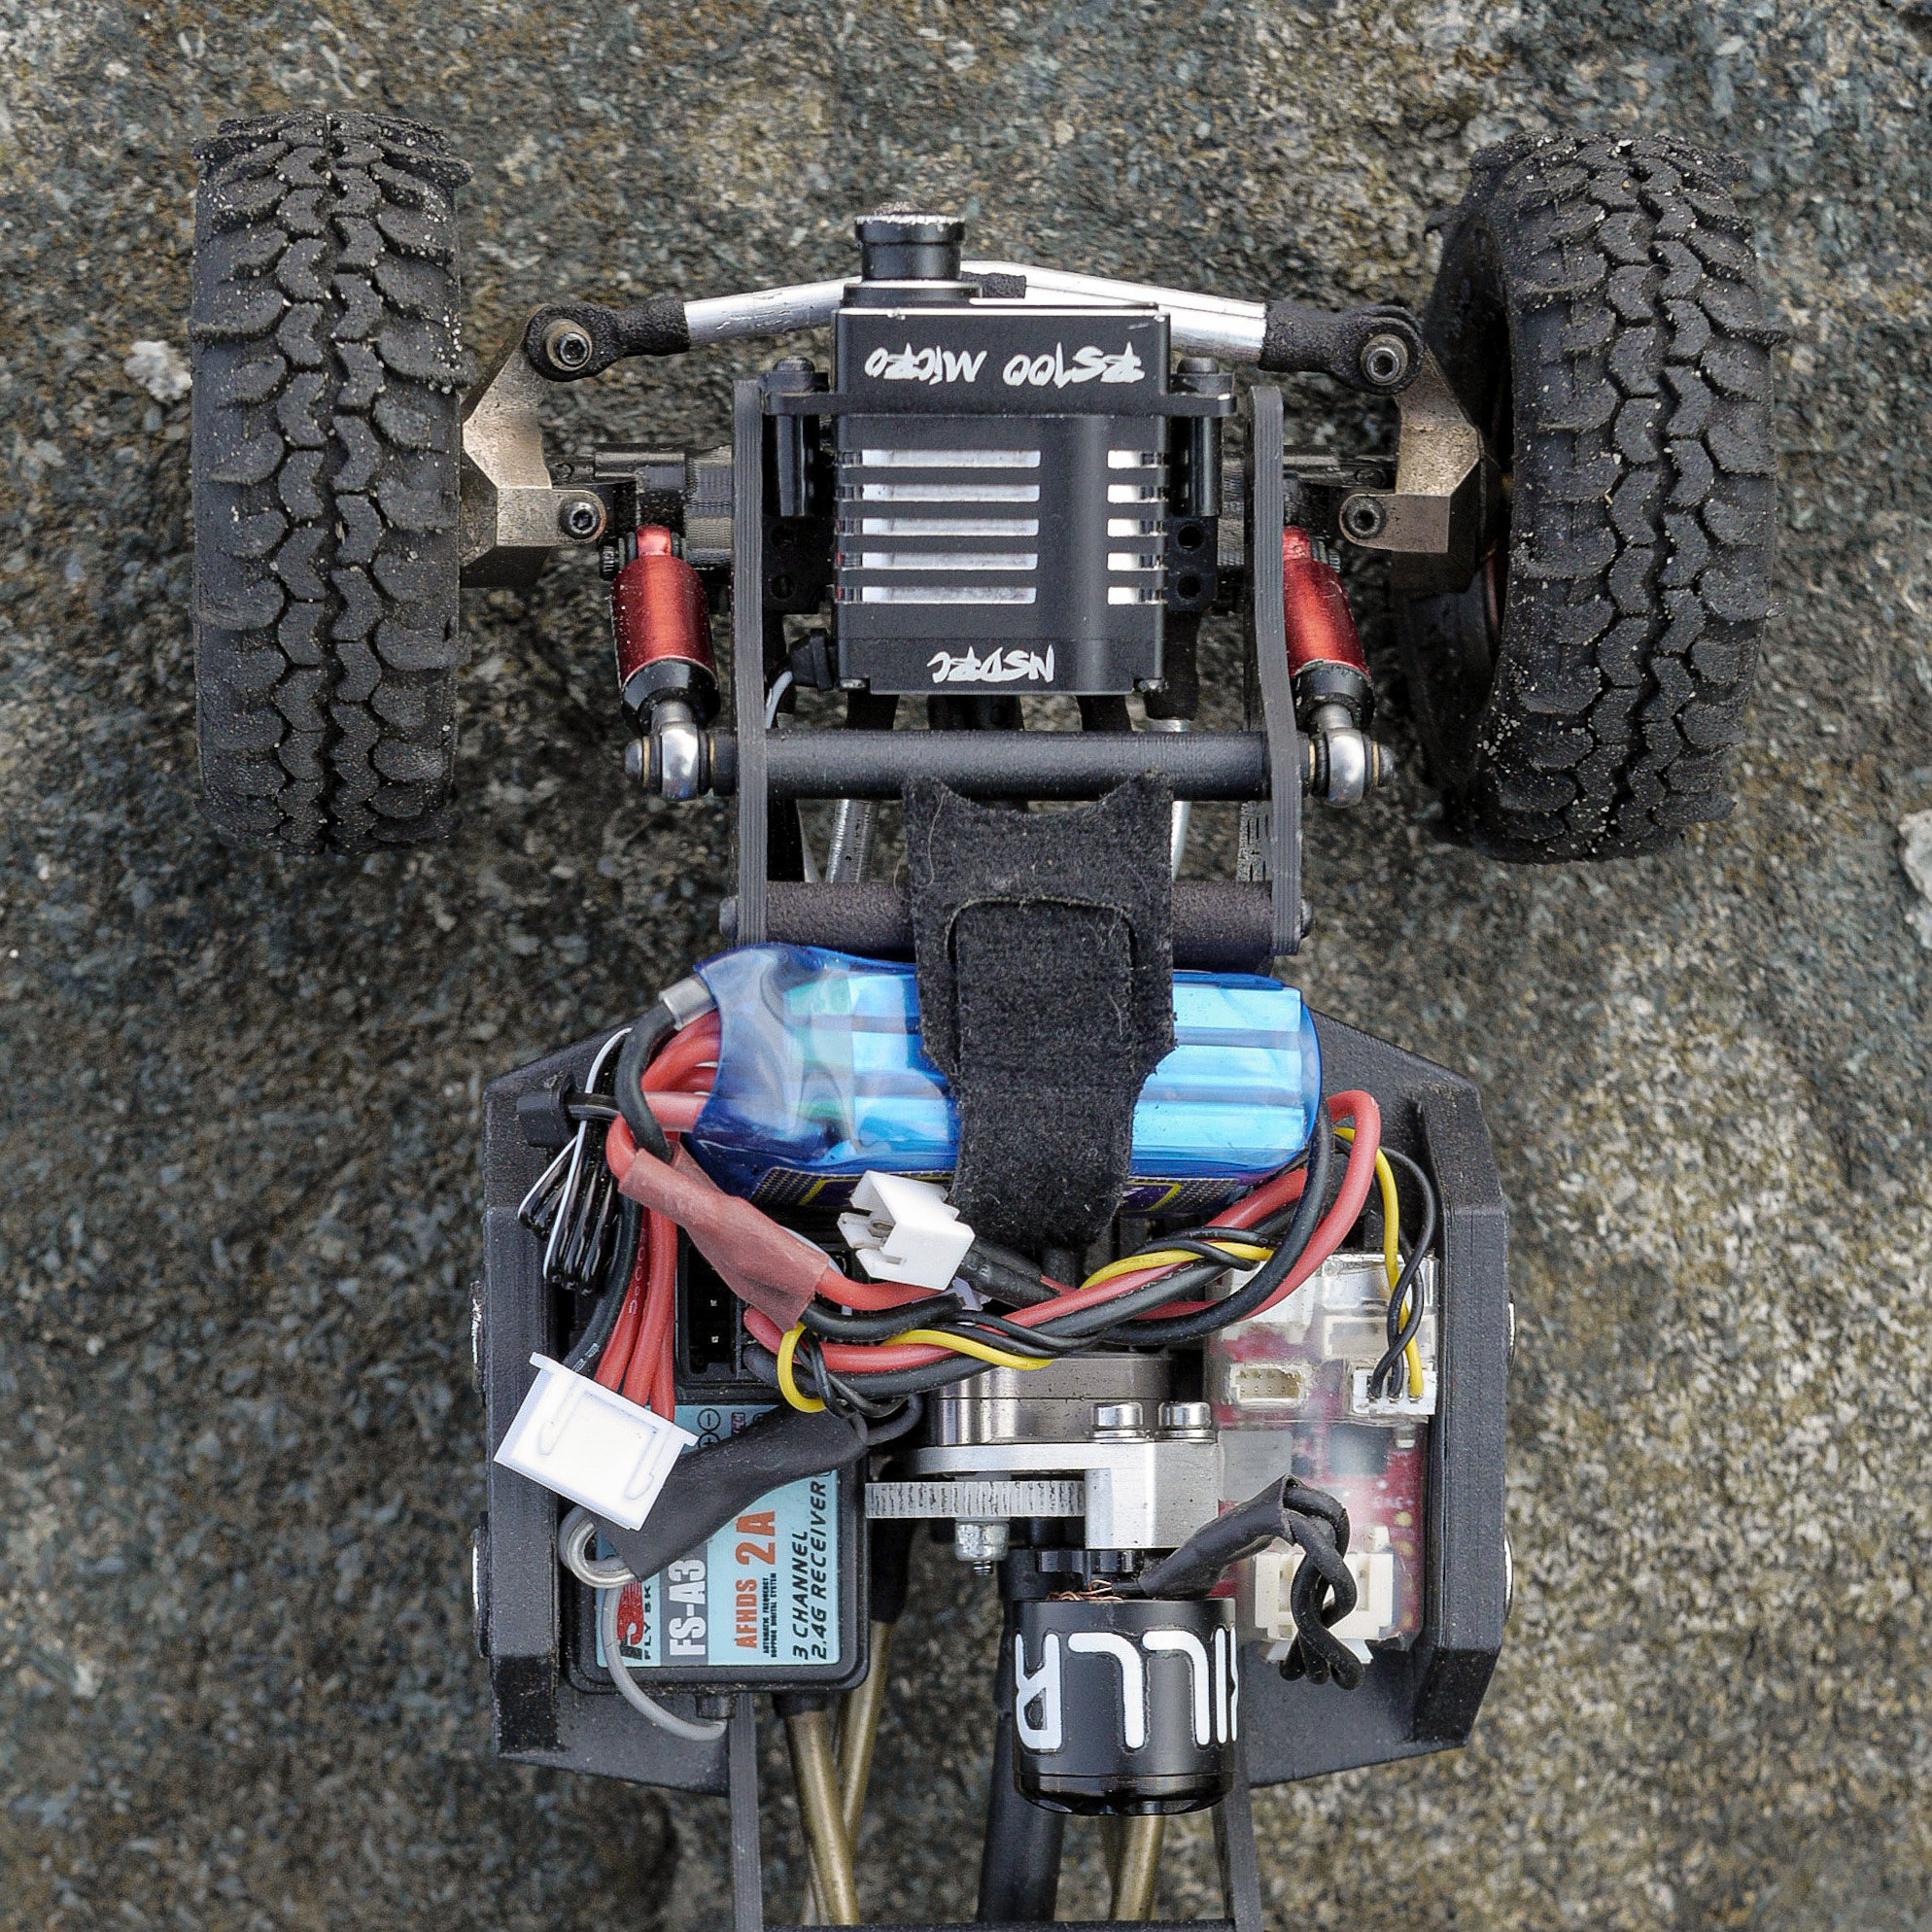
With these motors, we recommend running the motor behind the transmission. This allows you to run your battery in front of the transmission on the front battery tray. Lastly, we recommend running your ESC and RX on each of the sliders. This setup will allow for the lowest and most forward weight bias, perfect for conquering those hardlines.
Komodo / SMP / BAM Motors:
With these motors, it's best to run the motor in front of the transmission. This means that you will need to remove the front battery tray from the chassis. We recommend running the battery on one of the sliders. The ESC and RX can be placed on the slider or the rear tray depending on your electronics setup. With this configuration, the motor provides the forward weight bias and the battery keeps the center of gravity as low as possible when mounted to one of the sliders.

